
The point where water shows inside a house is rarely the point where it got in. Rain finds a gap in the covering, runs down the underlay or along a timber, drips onto insulation, soaks sideways and only then darkens a ceiling, sometimes a couple of metres from the hole. That gap between the symptom and the cause is why so many leaks come back after a repair aimed at the wrong tile.
The trail can be followed with a torch, a camera, a hose and a little patience. This guide takes you in the order a roofer would work: indoors first, then the loft, then the roof from places you can safely stand, then a controlled water test. It also explains why leaks wander, because understanding that stops you from searching directly above the stain and giving up. Once the entry point is known, common roof repairs shows what the fix usually involves.
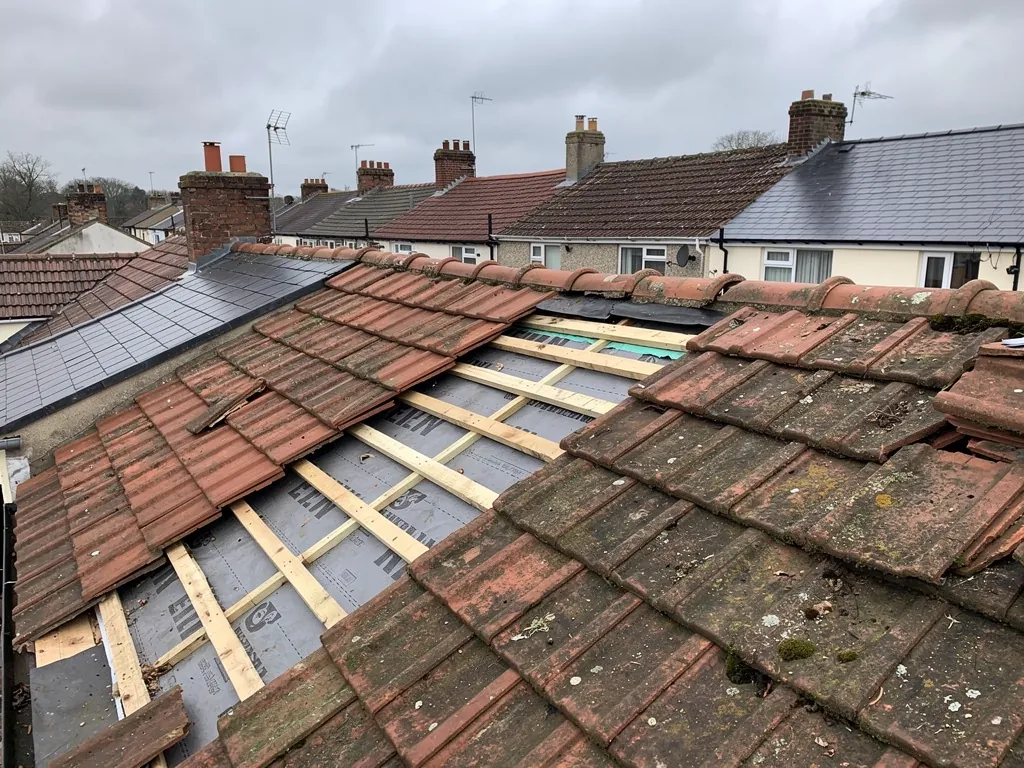
Start inside, with the stain and the weather
Before looking up, gather what the house already knows. Photograph the stain, mark its edge in pencil with the date and keep a short log: when it grew, what the weather was doing, which way the wind was blowing, and whether anyone had used the bath or shower. Two or three entries turn a vague worry into a pattern.
Patterns narrow the field quickly. A stain that grows in a heavy downpour and dries off in a few days points to a direct opening in the covering. A stain that grows only when rain comes from one direction points to a defect on the wall or slope facing that way. One that grows on cold mornings and never after rain points away from the roof altogether, towards moisture in the loft or a plumbing fault. Our guide to reading a ceiling water stain sets out those distinctions more fully.
Which rooms matter most?
Look at the walls and ceilings around the stain, not only at the stain. A tide mark running down a chimney breast, damp at the top of an outside wall, or paint blistering along a ceiling edge each tells you where the water came from. A bedroom under a slope, a landing beside the party wall and a bay window ceiling are all familiar places for roof water to appear.
What should I rule out before blaming the roof?
Pipes, tanks and gutters. A stain below a bathroom floor means the plumbing gets checked first. If it sits along an outer wall, watch the gutter in the next shower. These checks take ten minutes and spare you a roof survey that would find nothing.
Why leaks travel before they show
A pitched roof is a layered system: the covering of slates or tiles, the battens they hang from, the underlay (a membrane that catches whatever gets past the covering), the rafters, then insulation and the ceiling. Water that gets through the top layer does not drop neatly down. It follows whichever surface lets it run.
On an old roof with no underlay, water falling through a gap can land on a rafter and run down the grain of the timber for a metre or more before dripping from a lower point. Where underlay exists, it channels water down the slope to the eaves, often hiding the fault for months until the underlay tears or rots at a lap. Water also clings to the underside of a rafter, travels along a ceiling joist, follows a pipe, and tracks along the lead of a flashing.
Does a flat roof behave the same way?
No, and in some ways it is worse. Water can run along a deck, between boards and under felt before it finds a seam or a gap to drip from. A flat roof leak can show up beyond the edge of the room it sits over, so the fault is not always overhead.
Why does the stain move from week to week?
Because wet timber swells and shifts the path, and because different wind directions press water into different gaps. A leak that seems to wander has usually just found a second route. Search uphill, along the line the water could have taken, rather than only above the mark.
In the loft: the best place to look
The loft is where most leaks give themselves away. Go up on a day when the roof has been wet, ideally during or just after rain, with a bright torch and a board or two to stand on. Walk only on joists or boards; the plasterboard between them will not bear weight. Switch off the lights first and look for pinpricks of daylight, which show holes in the covering or gaps at a ridge.
Then follow the water trail. Look for dark, damp or stained timber, dripping nails (nails that come through the underlay frequently catch condensation as well), tide marks on rafters, flattened or wet insulation and patches of black mould. Run a hand along the underside of the rafters above the stain, then shift uphill in a line toward the ridge.
What do I do if the insulation is soaked?
Lift it carefully with gloves and look underneath. Wet insulation hides the ceiling surface and keeps water pressed against it, so a stain can last long after the leak has stopped. Our page on wet loft insulation explains when it is worth drying and when it needs replacing.
Could the dripping be condensation instead?
Yes. If nail tips are frosted or beaded on a cold morning and the timber has no staining where rain could reach it, condensation is likelier. Our guide on condensation or leak goes through the checks that tell them apart.
Photograph anything you find, with a tape measure or coin for scale. A roofer reading a photograph of a tide mark on a rafter can often guess the entry point before climbing.
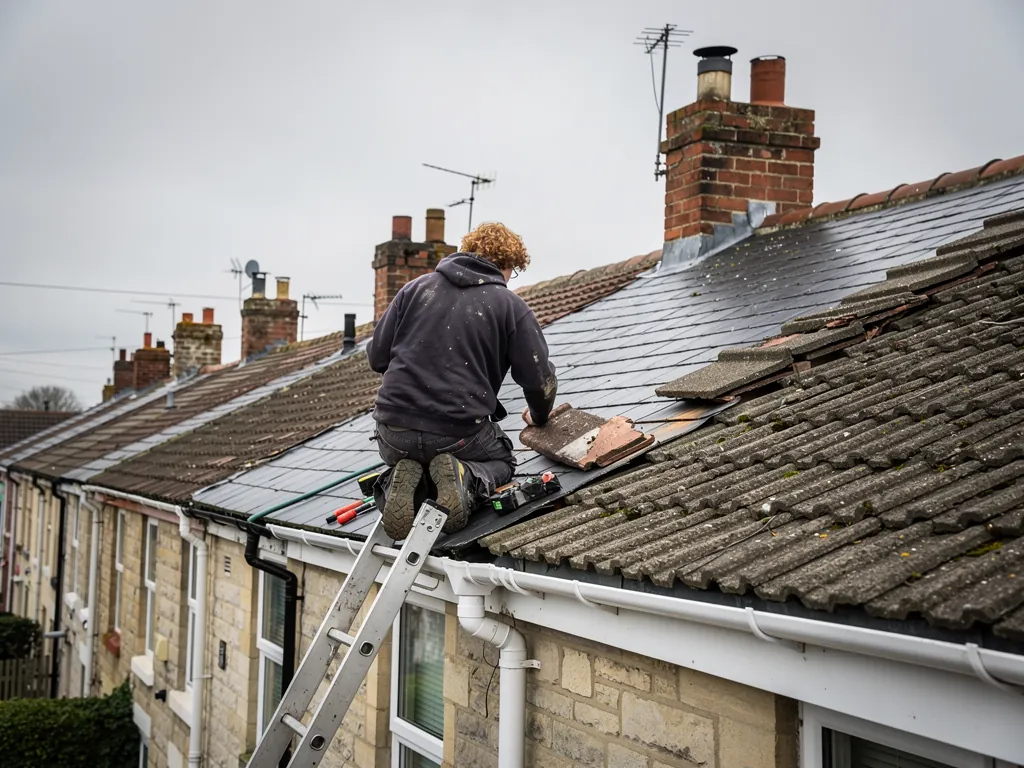
Looking at the roof without climbing on it
Most leak hunting does not need anyone on the roof. Start at ground level on a dry day, with binoculars if you have them, and work your eye along the area above the stain. Look at the junction points first, since that is where leaks nearly always begin. Check where the roof meets a wall, around the chimney, along the valleys, at the ridge and hips, beside roof windows and wherever a pipe or flue goes through.
Look for what has changed: a slate that sits lower than its neighbours, a gap in a course, a tile with a dark crack, grey mortar missing from the ridge, or lifted lead along a wall. Then check gutters for overflow marks and downpipes for blockages. Our guide to signs your roof needs repair lists what each of these tends to mean.
Can a phone camera help?
It can. Zoom in on the roof from an upstairs window, which gives a view of areas you cannot see from the garden. A telephoto lens or a camera on a pole helps further, and a drone view is more useful still, because it shows the top of a ridge and the back of a chimney. Drones do not replace a hands-on survey, but they save a lot of ladder work.
Should I get up on the roof myself?
It is not worth the risk. Wet slates, moss, steep pitches and fragile materials make falls a real danger, and a foot placed in the wrong spot cracks the very slate you are checking. Our guide to DIY roof repair covers what is sensible to attempt and where to stop.
Running a water test
When looking has not found the entry point, a controlled water test can. It needs two people, a garden hose, dry weather and a free afternoon. One person waits up in the loft holding a torch and a bucket; the other wets the roof in stages with a gentle flow of water, not a jet.
The rule is to start low and work upward. Begin at the bottom of the slope below the stain, wet one section for several minutes, then move uphill to the next. If you start at the ridge, you cannot tell which section is leaking, because water from the top runs over everything beneath it. Pause between sections to give the water time to travel through. When the person in the loft sees drips, note the section you were wetting at the time, then repeat to confirm.
Where does the hose go?
Aim it down the slope, as rain would fall, and avoid spraying upwards under slates and tiles, which forces water into places rain would never reach and gives a false result. Test one feature at a time: a chimney flashing, then a valley, then a ridge, then a roof window. Leave a few minutes between each.
When is a hose test a bad idea?
In freezing weather, when water can freeze in the roof, and on a ceiling already sagging with moisture. It is also unsuitable where the loft cannot be reached safely. In those cases a roofer can run the same test with proper access. Keep notes of what you tested and what happened, because they save time even if the test is inconclusive.
When the leak will not show itself
Some leaks are stubborn. They appear only in driven rain from one quarter, or after a wet spell when the timbers are saturated, or in the first hour of a storm and never again. A hose cannot always reproduce those conditions, and the roof may look sound at ground level.
In these cases a methodical roof survey does what guesswork cannot. It involves looking at every junction in the area, lifting tiles to check the underlay, inspecting the back of flashings, and testing nails and fixings. A moisture meter can map damp in timbers and plasterboard. A thermal camera or a drone can show wet insulation and cold spots on the roof.
Might the cause be more than one fault?
Often. Fixing a split valley lining while a flashing nearby is also lifting leaves a leak in place, which is why repairs sometimes seem not to work. A thorough survey looks for every opening in the same area, not just the first one found. The same applies to old roofs that have been patched repeatedly: each patch may be sound, while the surrounding covering fails around it.
Our guide on the most common causes of roof leaks lists the junctions worth checking, in roughly the order a roofer reaches them.
What happens when we survey a leak
When someone asks us to track a leak, we start with the stain and the log you have kept, then work uphill through the loft and over the roof. Leaks are a priority, so a wet roof gets covered or its loose slates refixed before the cause is traced in full. The written quote arrives with photographs of the entry point, which lets you check our findings with your own eyes.
If the survey shows a small, local fault, the quote covers that and nothing more. If it shows the roof is failing widely, we tell you and explain why a larger job may cost less over time than repeated visits. We recommend whatever modest repair cures it, and the work comes with a 10-year workmanship guarantee in writing.
What should I send before the visit?
Your dated photographs of the stain, a note of the weather when it grew, and any photographs from the loft. They tell us where to start and often shorten the visit.
If you want to see the usual range of repairs before booking, the most common roof repairs describes each one, and our roof repairs page explains how we work.