
The word survey covers a wide range, from a quick look at the front slope to a full report with every junction photographed. Knowing what a thorough visit contains makes it easier to see what you are being offered and what is missing. The parts to examine are much the same on most British houses: covering, ridge line, edges, metalwork and valleys, chimneys, the fascias and gutters below the eaves, and the loft.
Below we follow the sequence we use on site, saying what we look for at each stage and what the findings tend to mean. It is also the easiest way to compare one survey against another, because a visit that skips the loft, or never mentions flashings, has left part of the roof unexamined. The roof inspections and surveys hub lists the other kinds of visit, and roof survey cost explains what moves the price.

The covering: slates, tiles or a flat roof membrane
The survey starts with the largest area. On a pitched roof that means every slope, looked at for slipped, cracked, chipped or missing slates and tiles, for the pattern of weathering and for signs that the whole covering is ageing together. A few broken tiles are a repair. Slates sliding out of line across a slope suggest that the fixings, often old iron nails, are giving up.
We note the material and its approximate age, the laying pattern and whether any area has been patched with different tiles. Patching tells us where water has been getting in before. Moss and lichen are recorded as well, since heavy growth holds moisture against the surface, though it is also a sign of a damp, shaded slope that is otherwise sound.
What do we look for on a flat roof?
On felt, EPDM or GRP, the survey records blistering, splits at the laps, wrinkles, surface cracking and standing water. Ponding is a clue in its own right, pointing to a shallow fall or a deck that has sunk. The finished minimum fall for a flat roof is 1:80, and the design aim is 1:40 so it still drains after movement. Edges, upstands and outlets get checked early, as they tend to give up ahead of the open field of the roof.
If a flat roof has a mineral cap sheet, the granules are worth a look. Bare patches where the surface has worn away expose the layer below to sun and frost. The survey ends this section with a plain statement on whether the covering has years left, needs repair or is due for replacement.
Ridges, hips and verges
Where two slopes meet at the summit you find the ridge. On a hipped roof the sloping joints running down to the eaves are hips. At a gable, the verge is where the covering finishes against the wall. All three are capped with tiles or stone, and all three take the most punishment from wind.
We check whether the ridge tiles sit in a straight line, whether the mortar bedding has cracked or fallen out and whether the tiles rock when touched. We look for gaps at the junction with the main covering. Along a verge, we look at the mortar pointing, the board or slate that carries the edge tiles, and any sign that birds or weather have been getting in.
Has the ridge been fixed to current practice?
BS 5534:2014 changed practice, so that the capping along a ridge or hip gets screws, clips or straps in addition to any mortar. When the roof predates it, we note whether such fixings are present at all. Dry-fix systems, specified under BS 8612, hold the capping with clips and a sealed ridge section instead of mortar. Our guide to BS 5534 ridge fixing explains what the standard changed.
The ridge also tells us about the structure beneath. A ridge line that dips or wanders suggests the timbers have moved, and a sagging slope is one of the findings that moves a survey from a repair list towards a more careful look inside the loft.
Flashings, valleys and abutments
Water finds the places where the roof changes direction or meets something else, so these junctions get close attention. A flashing is a metal strip, usually lead, bridging the gap between the covering and a wall, stack or roof window. A valley is the inside corner channel between two slopes. An abutment is any point where a slope butts a vertical wall, for example the dividing wall of a terrace or the flank of an extension.
On lead flashings we look for cracking at the bends, splits, lifting at the top edge and loose pointing where the lead is tucked into the brickwork. Lead comes in grades called codes that describe its thickness, and Code 4 is the common grade for general flashings. Where the flashing is a cement fillet instead of metal, we look for cracks and gaps between the mortar and the wall. Soakers, the small lead pieces that sit between slate or tile courses, can be seen only partly from outside, so their condition is judged by the state of the stepped flashing above them.
Why are valleys checked so carefully?
Two slopes empty into each valley, making it the busiest gutter on the roof and one of the first to clog. We check the lining, the edges, the joints and any debris. A blocked valley can overflow and soak the timbers beside it even when the lining is perfect, which is why clearing comes before any talk of replacement.
Around roof windows and dormers the survey looks at the flashing kit, the seals and the cheeks, the side walls of the dormer. Any junction that has been sealed with a smear of mastic instead of lead or the right kit is noted, because it will fail again.
Chimneys: stack, flaunching, pots and flue
A chimney gets two inspections, one outside and one in the loft, because each shows what the other hides. Outside, we check the brickwork for open joints, flaking faces and lean, then the flaunching, the angled mortar crown that seats the pots, then the pots and any cowl. We also check the lead at the base, and the back gutter, the lead channel behind the stack that carries water round it.
Inside, the chimney breast gets a look for staining, damp and soot marks, and at the timbers close to the flue for any sign of water travelling down. A disused flue left open at the top can let rain run straight in, and a damp patch on the breast inside is often the earliest warning. Shared stacks on terraced houses need a note about which part is whose, since a defect on a neighbour's half can still leak into your house.
The survey records whether the problem is a repair that fits within the roof visit, a repointing job, or a rebuild of the upper stack. Our chimney repairs page sets out each. A rebuild sits at the larger end and usually needs scaffold.
If a chimney leans, feels loose or is shedding brick, say so when you book. Active leaks and storm damage are taken first, and a stack that could fall is made safe before any other work.
The roofline: fascias, soffits, bargeboards and gutters
The roofline is the line where the roof meets the walls, and it carries the gutters. The fascia is the board along the eaves that the gutter is fixed to, the soffit is the underside board beneath the overhang, and bargeboards finish the edge of a gable. These are often overlooked, though they hold the roof edge together and keep birds, insects and weather out of the roof space.
We check them for rot, peeling paint, cracks in uPVC, gaps between the soffit and the wall and signs that water has been running down behind the gutter. A gutter sagging between brackets pools water and tips it over the back edge onto the board and wall head, which from indoors can pass for a roof leak. Gutters should fall gently to the outlet, and manufacturers generally recommend a fall of roughly 1:600 to 1:350 depending on the system.
Does the survey cover downpipes?
Yes, as part of the water route off the roof. We follow each downpipe to the ground, check joints and bends, and see whether water is landing where it should. A downpipe that is cracked or blocked pours water down the wall and can cause damp that looks like a roof problem. Our drainage guidance is in the roof repairs section.
Fascia and soffit boards on houses built before the year 2000 are another point where care is needed. Some old soffit boards can contain asbestos, so where a board is in doubt our advice is to have it tested before anyone disturbs it, rather than guessing.
The loft, the photographs and the report
The loft inspection looks at what the covering is hiding. Looking up at the underside of the roof, we watch for daylight, staining, damp timber and wet insulation. Rafters, wall plate, any purlins and the ridge joints are all examined, together with any membrane under the covering, and we look for the signs of condensation such as water droplets on nails or black mould on the timber. We also note the depth and type of the insulation and whether the eaves are clear for ventilation.
Fixtures in the loft are recorded too: water tanks, extractor ducts, cables and the hatch itself. Each one can affect the roof, and it is better to find a bathroom extractor venting into the loft before the timbers show it.
What do the photographs and the report contain?
We photograph every defect and each main element, labelled by location, so the report can be understood by someone who has never been on site. Pictures from the visit are attached to the written quote, which is one total price. The report says what we found, what it means, what we would do and in what order, with the lightest effective repair put forward first.
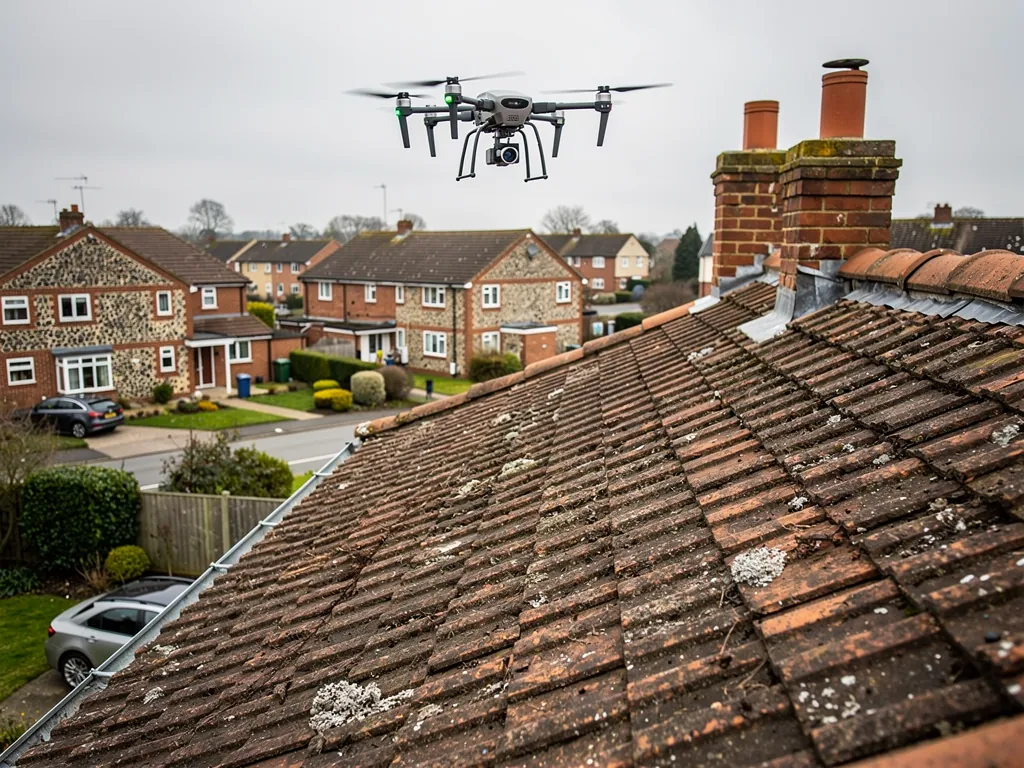
If you are weighing a survey against a building survey, roof survey versus building survey explains the difference. If a drone is part of the picture, drone roof surveys shows what it adds. And if your own survey has already raised a roof concern, when a survey flags the roof takes you through the next steps.