
Lead flashing fails in a handful of recognisable ways, and each has a different remedy. Some faults are put right in an hour with a new piece of lead and a run of fresh pointing. Others show that the whole flashing is spent, even though the metal looks whole from the garden.
We take the faults one at a time here: splits, lifted edges, failed pointing, missing sections and the patching question itself. It ends with the test we apply on site to decide between a repair and a replacement. The price side of that decision is in our guide to what lead flashing costs, and the general repair service is described on the roof repairs page. A flashing, for anyone new to the word, is the folded lead strip that closes the gap between a slope and whatever rises beside it, such as a stack or a gable wall. If you want the wider picture first, the lead roofing hub covers every use of the metal.
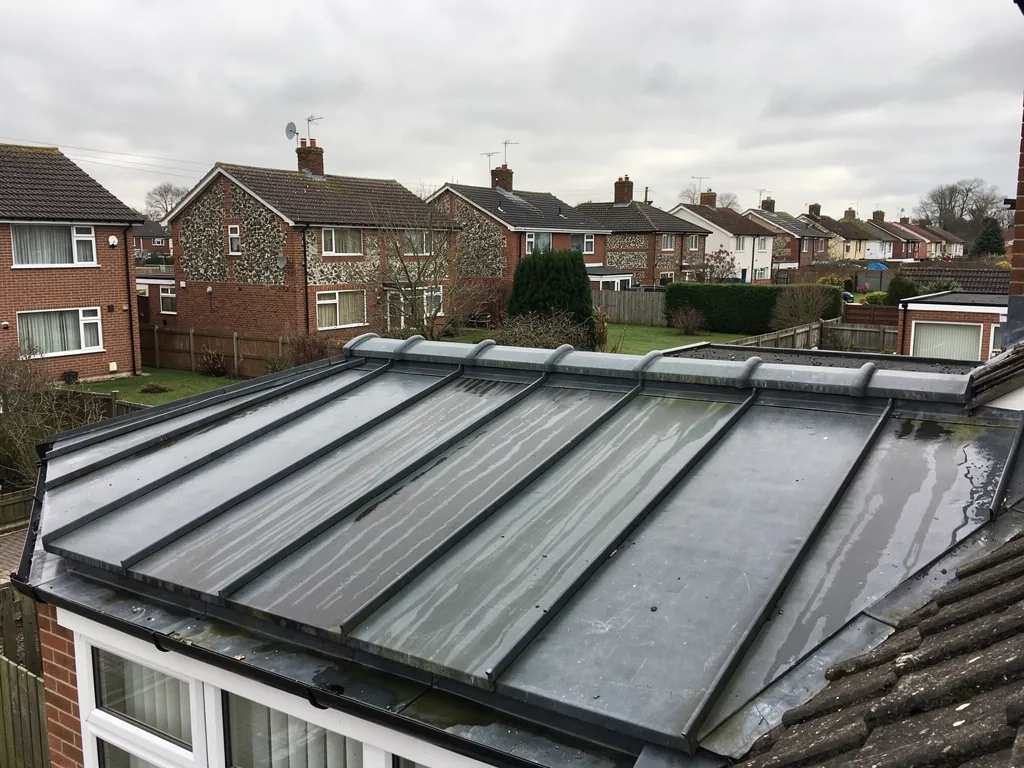
Splits and cracks along the bends
The commonest fault is a crack running across the lead at a fold or a corner. Lead is soft, but it is not forgiving of being worked in the same place repeatedly. Every warm day it expands and every cold night it contracts, and if the sheet was fixed too tightly or cut too long, it cannot slide and the movement concentrates at the bend. After enough cycles the metal fatigues and opens up like a bent paperclip.
A hairline split in lead that is still flat and supple elsewhere can be mended. The usual method is to clean the area back to bright metal and fit a patch of new lead over it, dressed so water runs over the top edge and not under it. Lead can also be welded or soldered across a small split, which our page on lead welding describes. Either way, the repair has to leave the surrounding lead free to move, or the new patch just becomes the next stress point.
Why did it split in the first place?
Look at the length. Long runs of lead with no joints or drips are a classic cause, as are flashings fixed rigidly along the full edge. Our guide to why lead cracks goes through each cause, and it matters because a repair that ignores the cause will crack again in the same place.
Lifted and pulled-out edges
A flashing is held at the top by being tucked into a groove in the wall and wedged there, with pointing over the top. The lower edge is dressed down over the roof covering and left free. When the top edge works loose, the lead hangs away from the wall, flaps in the wind and lets rain run behind it. You can often see this from the garden as a visible gap above the lead or a lifted corner.
The remedy depends on why it lifted. If the wall was sound and the wedges simply fell out or were never enough, the lead can be tucked back, re-wedged at closer intervals and pointed again. If the wedges failed because the mortar around them has crumbled, the groove needs raking out first. If the lead itself has stretched, the edge may no longer reach the groove and sits too short to refix.
A lifted flashing that flaps in the wind is already fatiguing at the bend. Refixing it early costs less than waiting for it to tear.
Wind is a regular culprit on exposed gables and tall stacks, where air pressure lifts a loose edge each time a gust passes. A flashing that is lifted in several spots on the same face has usually lost its hold along the whole length, and refixing one spot leaves the next one waiting.
Failed pointing and loose wedges
Pointing is the mortar line that seals the top of a flashing into the wall. Over the years it shrinks, cracks, and falls out in pieces. Once there is a gap above the lead, water gets behind the flashing even though the metal itself is perfect. That is why a chimney can leak with lead that looks sound: the fault is a few centimetres of mortar.
Repointing the flashing joint is a cheap repair when it is the only fault. The old mortar is raked out, the lead wedges are checked and replaced where loose, and the groove is filled with fresh mortar or a suitable sealant, depending on the wall. We explain the options in our guide to pointing lead flashings.
Is sealant a proper alternative to pointing?
Used on its own, a flexible sealant along the top edge is a stopgap. It can be fine as an interim measure, and some situations suit it, such as a soft or irregular wall surface where mortar will not bond. But it ages in sunlight, shrinks away from the brickwork and has to be redone, so it is not the same as wedging and pointing the lead properly. A flashing sealed with silicone alone and no wedges is one of the things we find most often when a previous repair has failed.
Does lime or cement mortar matter?
On older brick and stone it does. A hard cement mortar can damage soft historic masonry, so the repair is matched to the wall as well as the lead.
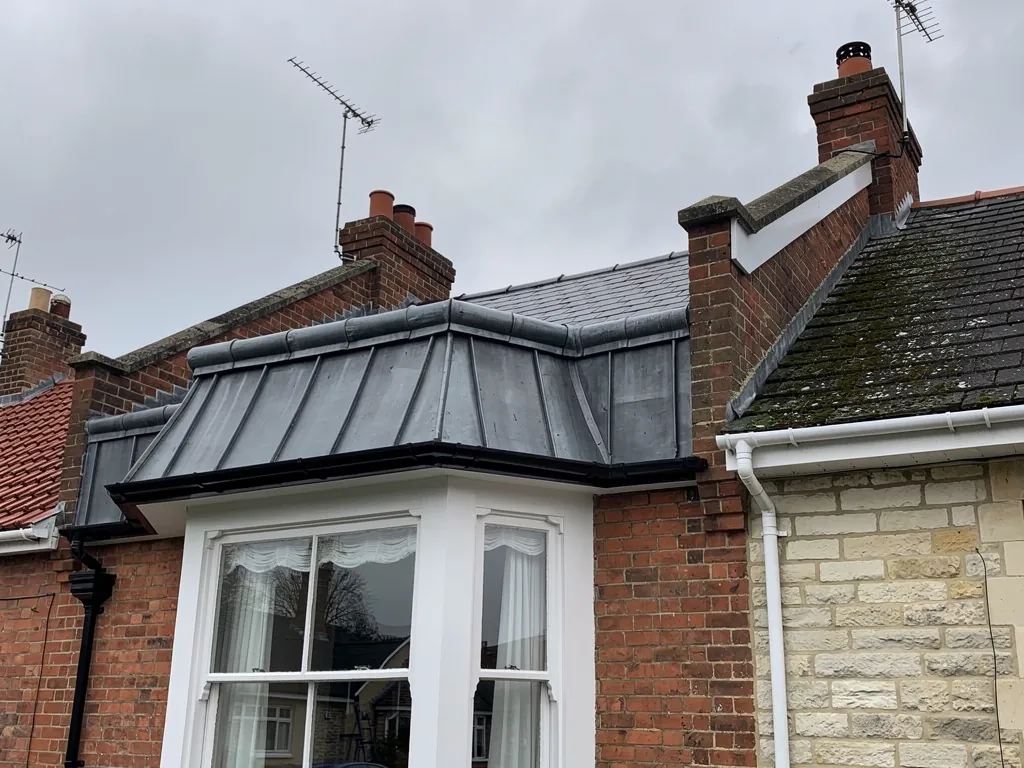
Missing, stolen or blown-off lead
Sometimes the lead is simply not there. Sections can be blown off by a storm, stripped by thieves or removed in an earlier repair and never replaced. A bare joint between roof and wall lets water straight in, and it needs covering quickly.
Priority one is stopping the water, which can mean a temporary cover while proper lead is cut and fitted. Missing lead is replaced with new sheet of the right code, not patched with felt or tape, unless the aim is a temporary measure. Lead is a target for theft, particularly on roofs that are hard to see from the road. Our guide on lead theft covers prevention, and it also lists the alternative materials some owners choose after a theft.
Where the original code was too light for the position, the replacement is a chance to correct that. Thin lead on a long run, or soakers that were too narrow, are the usual reasons an old flashing gave trouble, and repeating the same specification just repeats the fault.
What if only part of the flashing was stolen?
The old and new lead can be joined, but the join needs a proper lap so water cannot track across it. Where the remaining lead is old and brittle, it is often wiser to renew the whole run.
Patching: when it is a sound repair
A patch earns its place when the fault is small, local and caused by something that has been dealt with. One split from a single knock, a pinhole where a nail was driven through, a torn corner on an otherwise level flashing: these respond well to a lead patch properly lapped and dressed.
The patch should be lead, not a smear of bitumen or a self-adhesive strip over the top. Tape and mastic have their uses as emergency measures, and our look at alternatives to lead describes where they stop being a repair and become a replacement material. For lead that stays in place, new lead patched onto old is the like-for-like fix.
| Fault | Usual repair | Likely to last? |
|---|---|---|
| Single small split | Lead patch or weld | Yes, if the surrounding lead is sound |
| Loose top edge, sound wall | Re-wedge and repoint | Yes |
| Cracks on several bends | Replace the run | Patching rarely holds |
| Missing section | New lead, lapped to the old | Yes, with the right code |
On price, MyJobQuote's guide of 22 September 2026 puts a chimney leadwork patch at £150 to £250. MyBuilder's chimney repair guide, updated 21 August 2026, gives £250 to £1,200 for a flashing repair, a wide spread that mirrors how different the faults are.
Ruling out the other causes first
Lead gets blamed for plenty it did not do. A stain beside a chimney breast can come from the flashing, but it can equally come from a cracked flaunching, an open flue, a slipped tile above the stack or a gutter that overflowed in a downpour. Water also travels. It runs along a rafter or the top of a ceiling for some distance before it shows, so the wet patch can sit well away from the true entry point.
That is why a careful repair starts with looking, not with ordering lead. We check the pointing above the flashing, the condition of the stack itself, the covering on both sides and the way water would flow in heavy rain. Where the fault lies in a different place from the obvious one, a flashing repair would have been money spent on the wrong spot.
Can a hose test help?
It can, used patiently. Wetting the roof section by section, starting low and working upwards, with someone watching the ceiling below, narrows down which junction lets water through. Pouring water on everything at once proves nothing, because every defect leaks together.
Condensation is the other impostor. A cold chimney breast or a poorly ventilated loft can run with moisture on a still, dry day, and no amount of re-leading will cure it. If staining appears in weather that has not rained, ventilation and insulation are the places to look before the lead.
Photographs taken at each stage give you a record of what was wrong and what was done, which is useful if the stack is ever sold or surveyed.
The test for replacing instead
On site, three questions decide it. First, is the lead still supple? Ageing lead that has been bent back and forth over the years stiffens, and if it cracks at the first bend you try, no patch will hold. Second, how many places have failed? One fault is a repair. Several along the same flashing is a pattern, and the flashing is doing what lead does when it is spent. Third, what is behind it? If damp has been creeping in over a long period, the timbers and the pointing may want attention too.
When replacement is the answer, the new flashing is formed, fitted and wedged to the same standard as any new job, with the lead code chosen for the position. Correctly installed lead flashing can last for over 80 years according to MyJobQuote, and over 100 years in the higher codes, so a proper replacement is a long-term fix, not a stopgap. The comparison between lead and other materials, from zinc to flexible tape, is on our lead alternatives page.
Valleys deserve a separate mention. A split in a lead valley lining is harder to reach than a chimney flashing, because the lead sits under the tiles on both sides. Our page on lead valleys explains why a valley is often renewed in full once it fails.
Once the flashing has been inspected, the written quote reaches you with photographs of the lead and the wall around it. It names the smallest sensible fix. Where a patch is enough, you will see a patch quoted, and the workmanship is guaranteed for ten years in writing.