
People picture asbestos removal as space suits and sealed tents, and sometimes it is. For a cement-sheet garage roof in good enough condition, the picture is quieter. A small trained team works methodically across the roof, unfixing sheets one at a time, lowering them without dropping them and wrapping each load before it leaves the site. Nothing about it is hurried, and nothing about it should be.
This guide, part of our garage roof replacement section, follows a typical job in the order it happens: testing, preparation, damping, careful removal, wrapping, loading and disposal, then the new roof. The legal categories behind it are covered in our guide to asbestos garage roof removal and the law. Here the focus is on method, so you know what a competent crew does and can spot one that cuts corners.
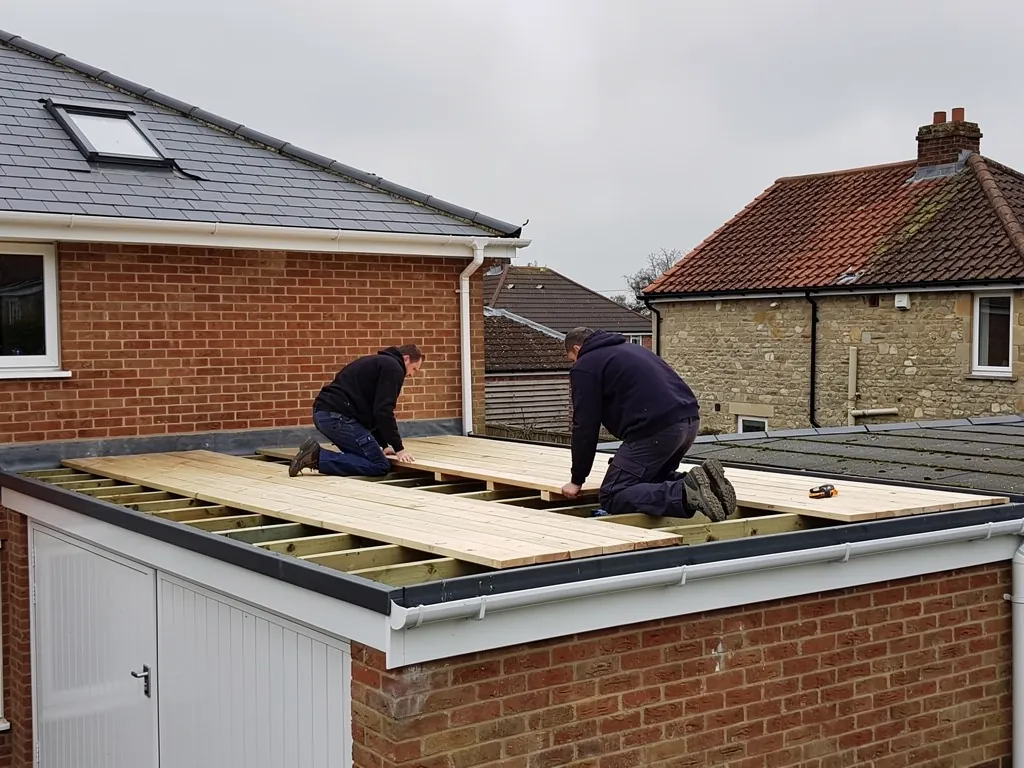
Step one: confirming what the roof is made of
Nobody should lift a sheet before the material has been identified. Cement sheets from the same era look alike whether they contain asbestos or not, and HSE advises assuming asbestos is present in anything built or refurbished before 2000. A sample, taken carefully from an edge or a broken corner and analysed in a laboratory, replaces the assumption with a result. MyBuilder's August 2026 guide shows testing and survey costs running between £50 for a basic check and £245 for a fuller one.
We also use the first visit to read the roof as a structure. How many sheets are there, and are any cracked? Are the fixings corroded, or has someone added screws and sealant over the years? Are there roof lights, fascia boards or a flue pipe running through? Is there a gutter attached with asbestos cement fittings? Each answer changes the plan, and each gets a photograph, and the quote we write afterwards is built on those pictures.
Why does the survey matter so much?
A roof with a handful of sound sheets is a different job from one with broken corners, a sagging purlin and a fragile roof light. The first is routine non-licensed work. The second may be notifiable, and the structure may need support before anyone can safely stand on it. Fragile sheets and skylights are a falls risk as well as an asbestos risk, so access equipment is planned at the same time.
Step two: preparing the ground before a sheet moves
Preparation takes longer than people expect. The area under and around the garage is cleared, vehicles are moved and children and pets are kept away. Anything stored in the garage is covered or taken out, because dust settles on whatever is underneath. Neighbours are told the date, and windows close to the work should be shut. If the garage backs onto a shared lane or a neighbour's fence, we agree where the polythene and the access route will sit so nobody is surprised by a stack of wrapped sheets on their side.
Heavy-duty polythene goes down where debris could fall, and the route from garage to waste vehicle is marked so sheets never travel across the garden or a drive that people use. The team decides where wrapped sheets will be stacked, how they will be lifted down and who will carry them. Ladders and, where the roof demands it, scaffolding or a safe platform are set up before the first fixing is released, because nobody should lean on cement sheets from above.
Ask the contractor where the sheets will go the moment they are off the roof. A clear answer, with a named waste carrier, is the mark of a plan. A shrug is the mark of a problem.
Work is also planned around the weather. Strong wind lifts dust and makes handling large sheets unsafe, so a windy day is a reason to postpone, not to push on. Our answer on replacing a garage roof in winter covers how seasons affect the timetable.
Step three: damping the surface to keep fibres down
The standard method for cement sheets is to damp them before they are disturbed. A light, steady wetting of the surface, usually with a garden-type sprayer and sometimes with a sealant or binder added, helps keep loose surface material from lifting as the sheets are handled. The aim is a damp surface, not a flood. Water cascading across the roof carries contamination into gutters and soil, which creates another waste problem.
Why does it matter on a roof that looks intact? Weathering is the answer. Decades of rain and frost wear the cement matrix, and the surface of an old sheet can hold loose material that dry handling would disturb. Damping binds it in place. It is not a substitute for care, though, and it is no excuse for scrubbing, scraping or washing moss off.
Power tools do not belong in this job. Grinders, saws and drills create fine airborne dust, which is what turns a manageable task into an unmanageable one. Sheets are released with hand tools where fixings allow, and a sheet that will not release is dealt with by a method that does not break it, even if that is slow. If you see anyone take a disc cutter to a cement sheet, stop the job.
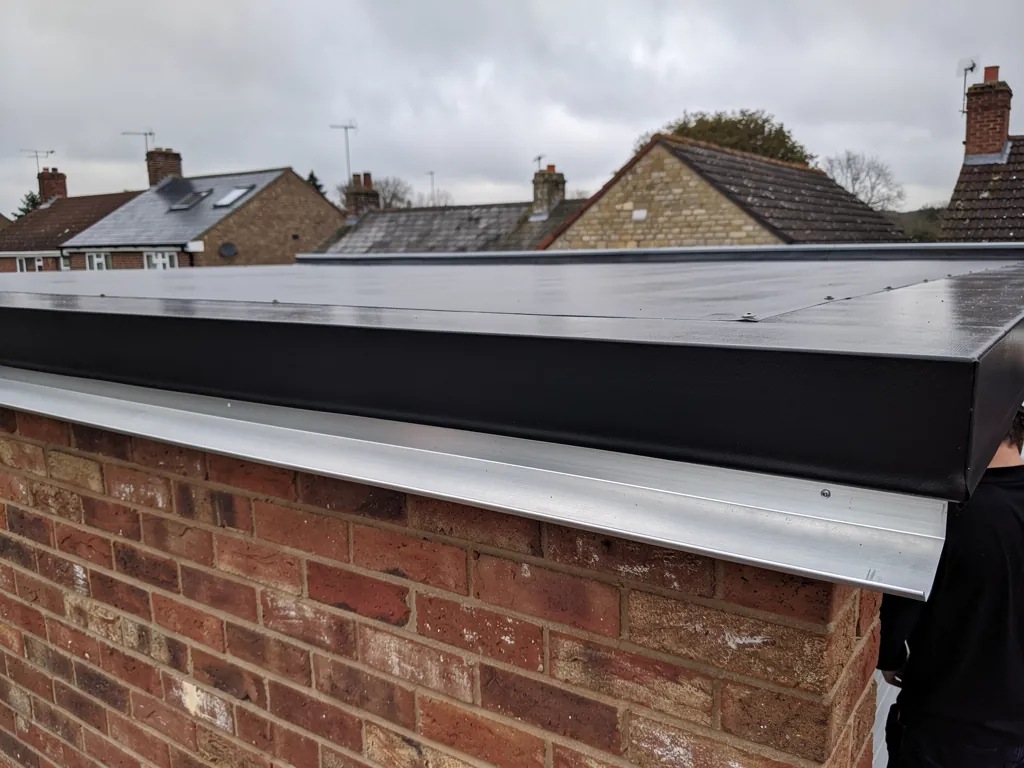
Step four: unfixing and lowering the sheets whole
This is the heart of the job. Cement sheets are bolted or screwed through the crowns of the corrugations into purlins, usually with hook bolts, washers and caps. The crew works from a safe platform or crawling boards across the roof, releases the fixings carefully and lifts each sheet clear without bending or cracking it. Sheets are passed down by hand or lowered on a controlled line, never thrown, slid or dropped.
HSE draws the legal line here. Removing sheets carefully and intact is non-licensed work; breaking them up, or dropping a roof, moves it into notifiable non-licensed work, with notice given before the work, medical examinations every three years and health records kept for 40 years. Everything about a careful method is built to stay on the right side of that line, which is why speed is never the goal. A crew that finishes unusually early has usually skipped something.
What happens to the fixings?
Fixings that cut through the sheet are the usual trouble. Rusted bolts snap, and caps stay embedded in the surface. The crew works them loose rather than snapping the sheet around them, and a sheet that cracks is placed straight into its wrapping with the broken edges protected. Old ridge pieces and filler pieces are handled in the same way as the main sheets, because they are the same material.
Is the timber underneath safe to reuse?
Once the sheets are off, the timbers underneath get a proper look. Some are sound; some have been damaged by years of condensation or fixing holes. We tell you what we find and what the new roof needs before anything goes back.
Step five: wrapping, labelling and loading
As soon as sheets are down, they are wrapped. The usual practice is heavy-duty polythene, taped closed, with the pack labelled as asbestos waste so that anyone who handles it afterwards knows what it is. Sheets are stacked flat on pallets or boards instead of leaning on edges, which protects the corners from chipping. Small debris, offcuts and used polythene go into separate sealed bags, then into the same consignment.
The wrapped packs are loaded straight onto the registered carrier's vehicle or into a lockable container. They do not sit in a skip, in the garden or on the drive for days. A pack left in the open can be torn by weather or curious children, and a single burst bag undoes a lot of careful work. Equally, the waste must never be mixed with ordinary rubble, because one contaminated load turns a whole skip into hazardous waste.
The vehicle itself matters. A carrier handling asbestos waste has to appear on the public waste carrier register, which anyone can search on GOV.UK. Check the name and number before the day. The hazardous waste guidance, also on GOV.UK, makes the contractor the waste producer who completes the consignment note, so ask to see the note being filled in and keep your copy.
Step six: disposal, clean-down and what comes after
The consignment note travels with the load to a site permitted to accept asbestos waste. The receiving site signs for it and the paperwork comes back to the contractor, who keeps a record. Once the load has left, the team cleans the work area with damp wipes or a suitable vacuum rather than a broom, because dry sweeping puts dust back into the air. Polythene sheets are folded inward and bagged, and the ground is checked for stray fragments.
Then the garage needs a roof. A decent plan covers this before the first day, since an open garage in the rain is a bigger problem than a grey one. The choice depends on what the walls can carry and what you want the building to do. Pitched roofs in tile or sheet are covered in our guide to pitched garage roofs, box-profile steel is discussed in our guide to steel profile sheets, and the full range of options sits in the best material for a garage roof. Typical lifespans for each covering are in our answer on how long a garage roof lasts.
Our work comes with a written guarantee of ten years, and you leave the job with a tidy site and your copy of the waste paperwork.
How can you tell whether a contractor is doing it properly?
You do not need technical knowledge to spot the signs. A competent crew explains the process before it starts and does not mind questions. It names its waste carrier, shows a consignment note and talks about damping and wrapping without being prompted. It does not offer to keep the sheets for use as a base in the garden, to bury them or to leave them for the council. It does not quote a figure over the phone without seeing the roof.
Warning signs are equally clear. Dry power-tool work, sheets thrown from the roof into a skip, no protective sheeting on the ground, no answer about where the waste is going, and a price that looks far lower than the rest. Published figures give some scale: MyBuilder's guide, updated in August 2026, shows single garage roof removal between £350 and £1,295 and a double between £650 and £1,800. A figure well below that range is a prompt for questions, not a bargain.
Finally, make sure what you are comparing is a complete job. Does each quote include VAT? Does it include scaffolding and the new roof covering? The best protection against surprises on the day is a visit to the site, photographs taken on the day and a written quote that sets out what is included.